Table of Contents
- Step 1: Plug the DC UPS into a verified grounded 2 wire wall outlet.
- Step 2: Turn on the DC UPS
- Step 3: Fully charge the DC UPS for at least 2 hours
- Step 4: Plug in your device to the DC UPS
- Step 5: Test if the DC UPS backup function is working
- Additional reminders to help prolong the life of your DC UPS
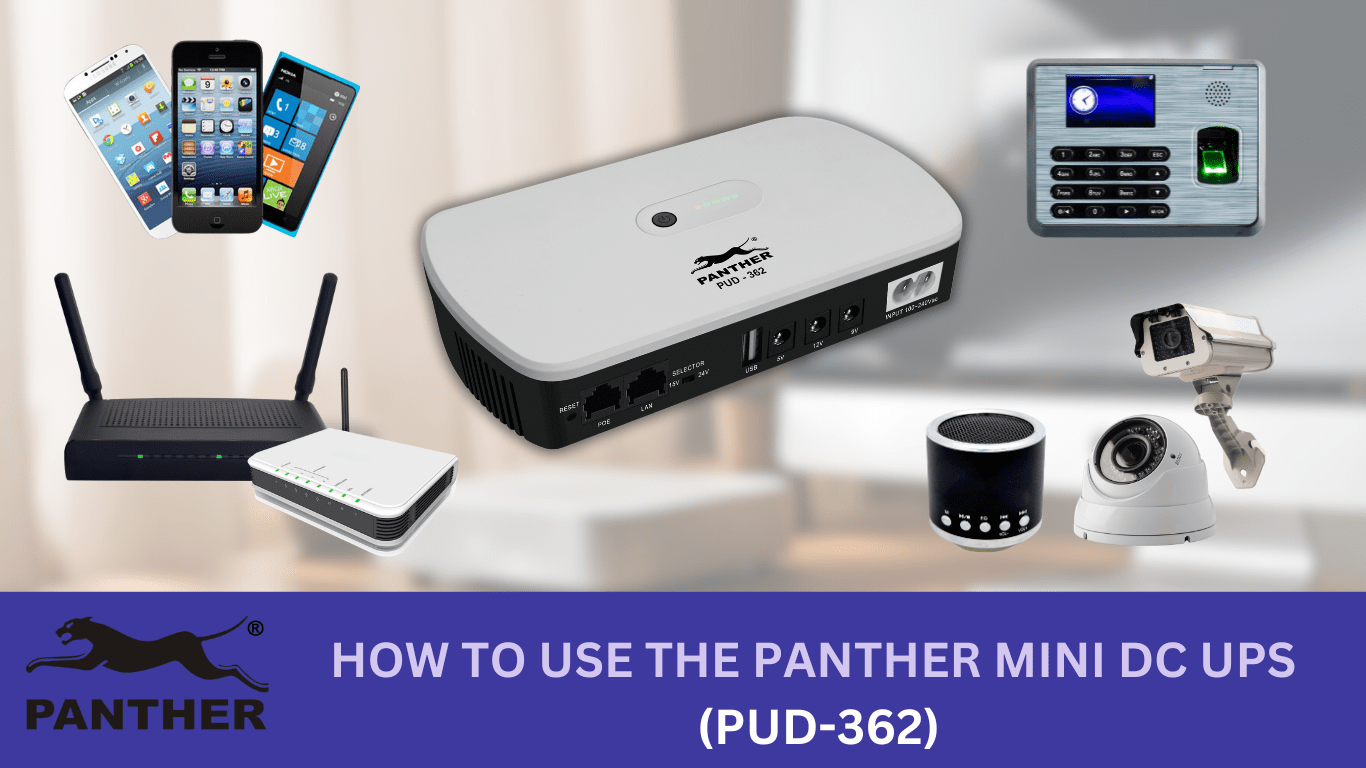
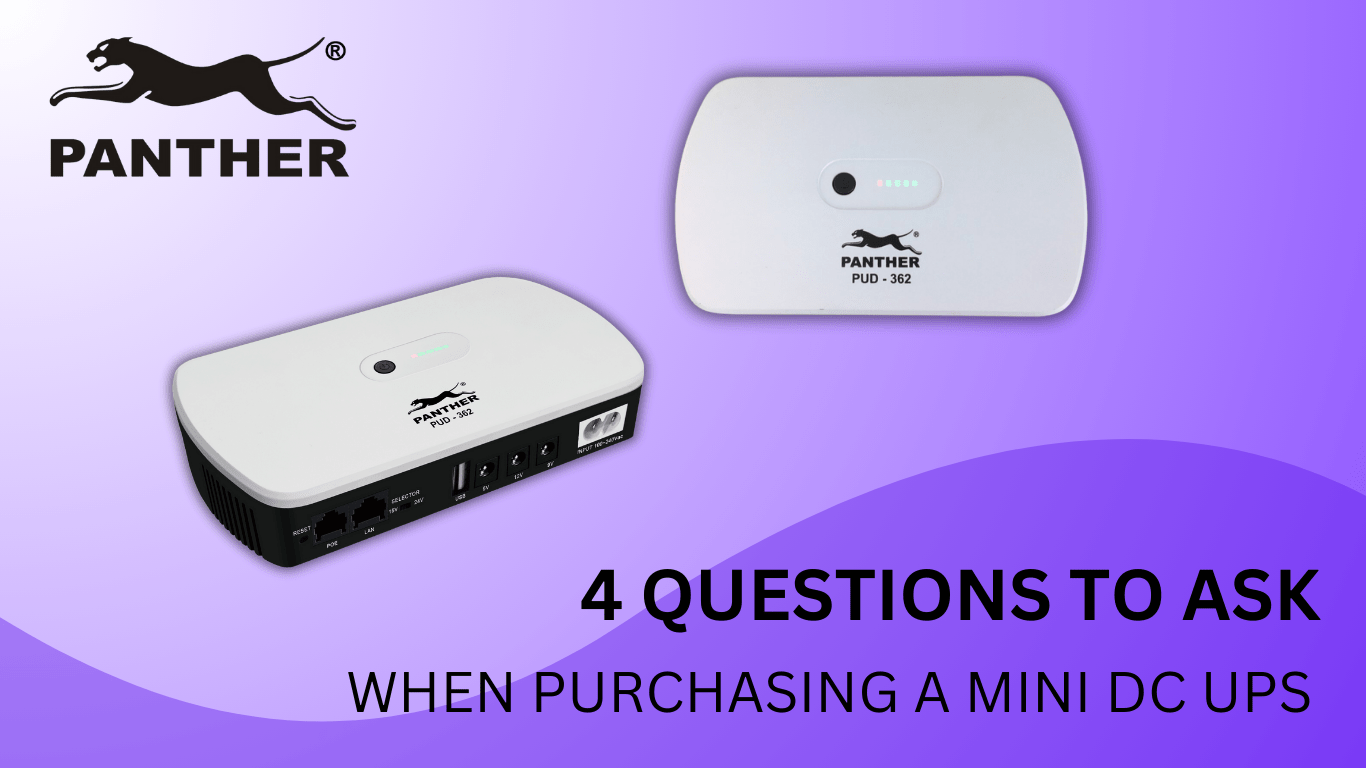
The Panther DC Uninterruptible Power Supply (UPS) PUD-362 is perfect for your needs because:
- The UPS will provide backup power to your WiFi Router for up to ~13 hours (based on a 12V 1A load) ensuring uninterrupted digital connectivity for your home and office needs
- Not only that, this DC UPS can also charge your smartphone in the event of a power outage
- Got other DC devices you want to power up during a brownout, such as CCTV cameras and biometrics? With the multi-volt options offered by the PUD-362, we’ve got you covered!
- The DC UPS “Cold Start Function” also allows you to start up your WiFi router using the Panther DC UPS even if there’s a power outage
- Its intelligent circuit design provides full protection to the DC UPS. Whether from over-charging, over-discharging, overload, and short circuit, we can guarantee your UPS will be protected.
- Last but most important, it’s really easy to set-up. Simply plug and use!
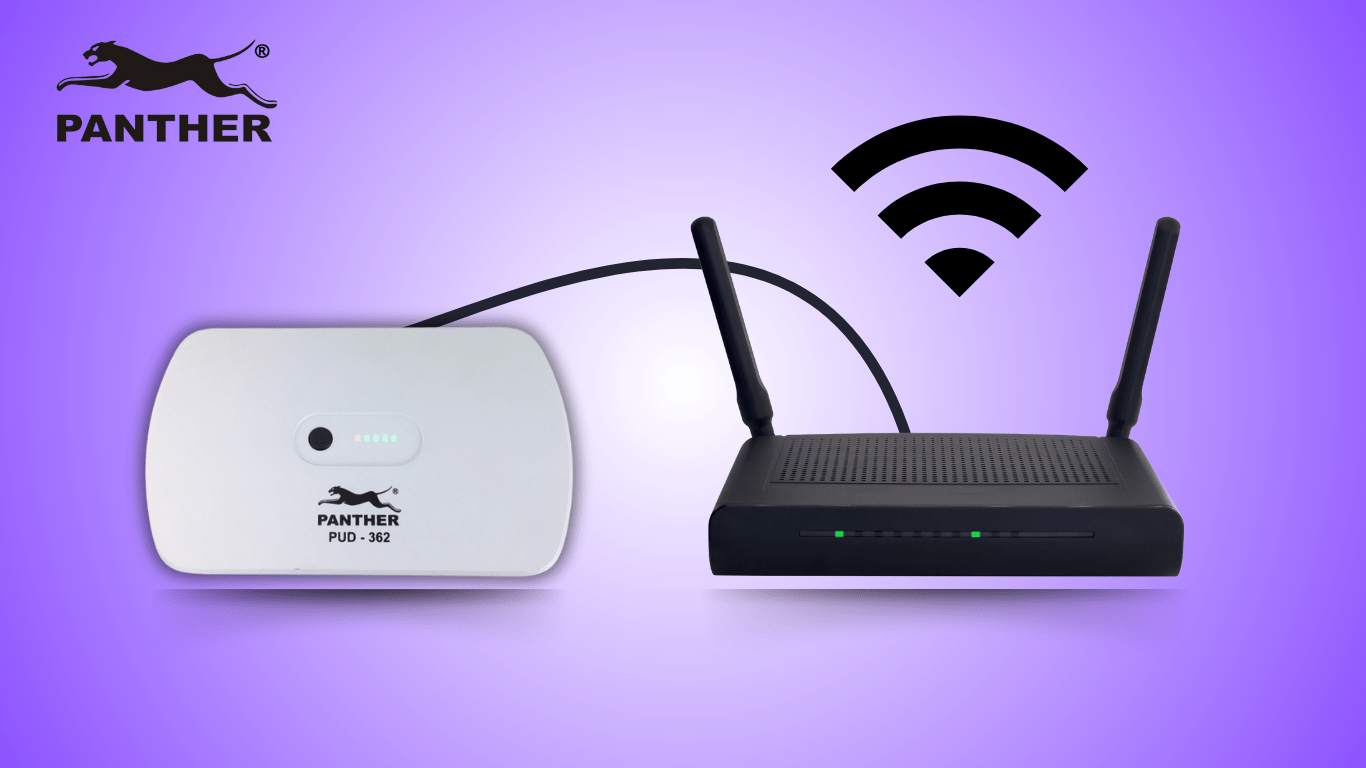
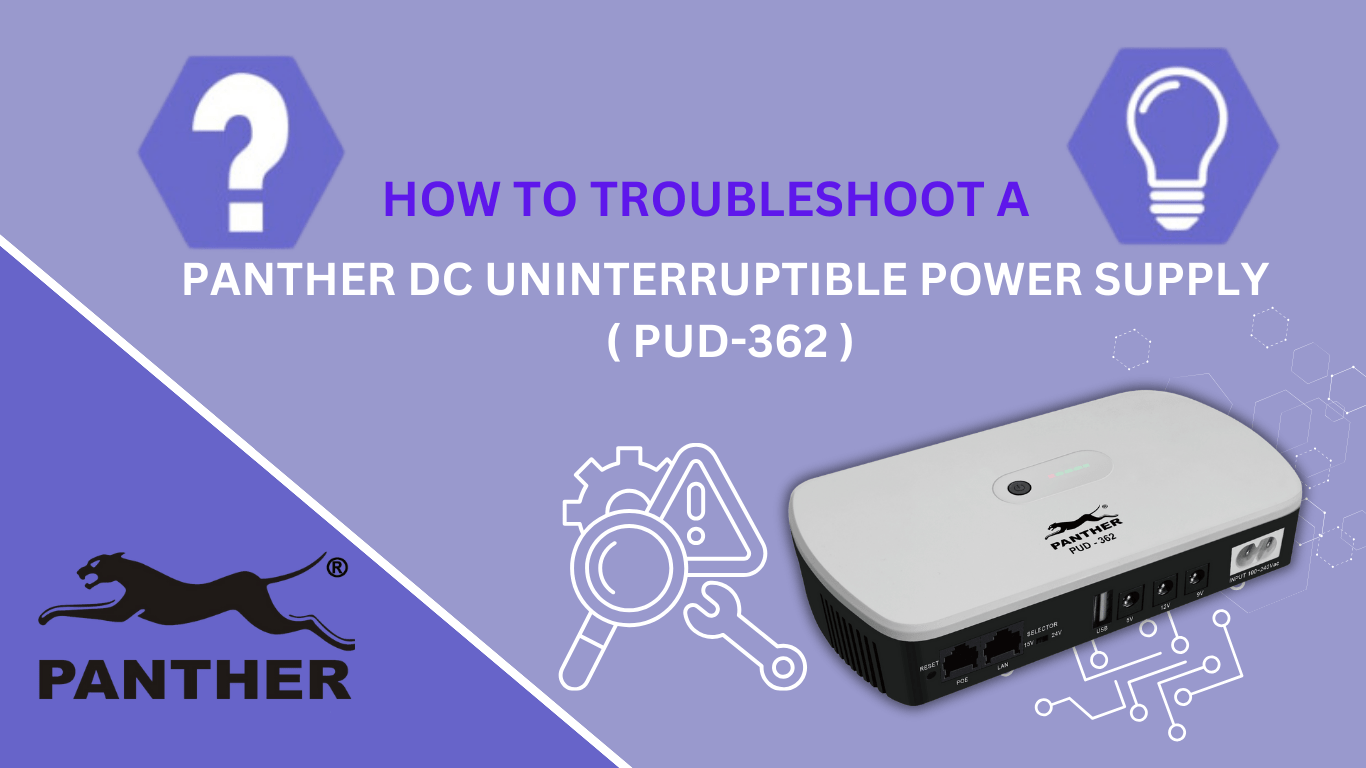
Let us walk you through how to set up and operate your Panther DC Uninterruptible Power Supply PUD-362.
Step 1: Plug the DC UPS into a verified grounded 2 wire wall outlet.
Make sure the cable is firmly plugged into the DC UPS’ AC power input, and that the plug is firmly plugged into the power outlet
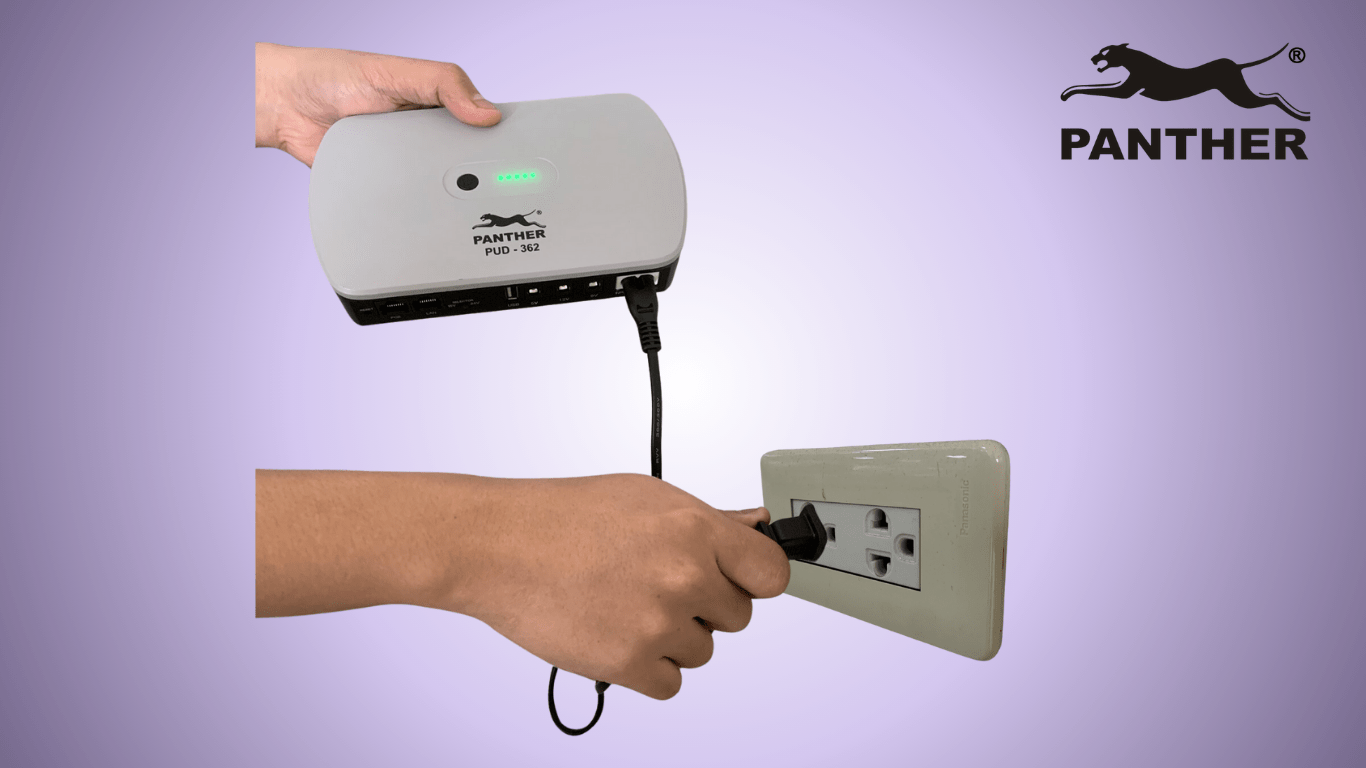
Step 2: Turn on the DC UPS
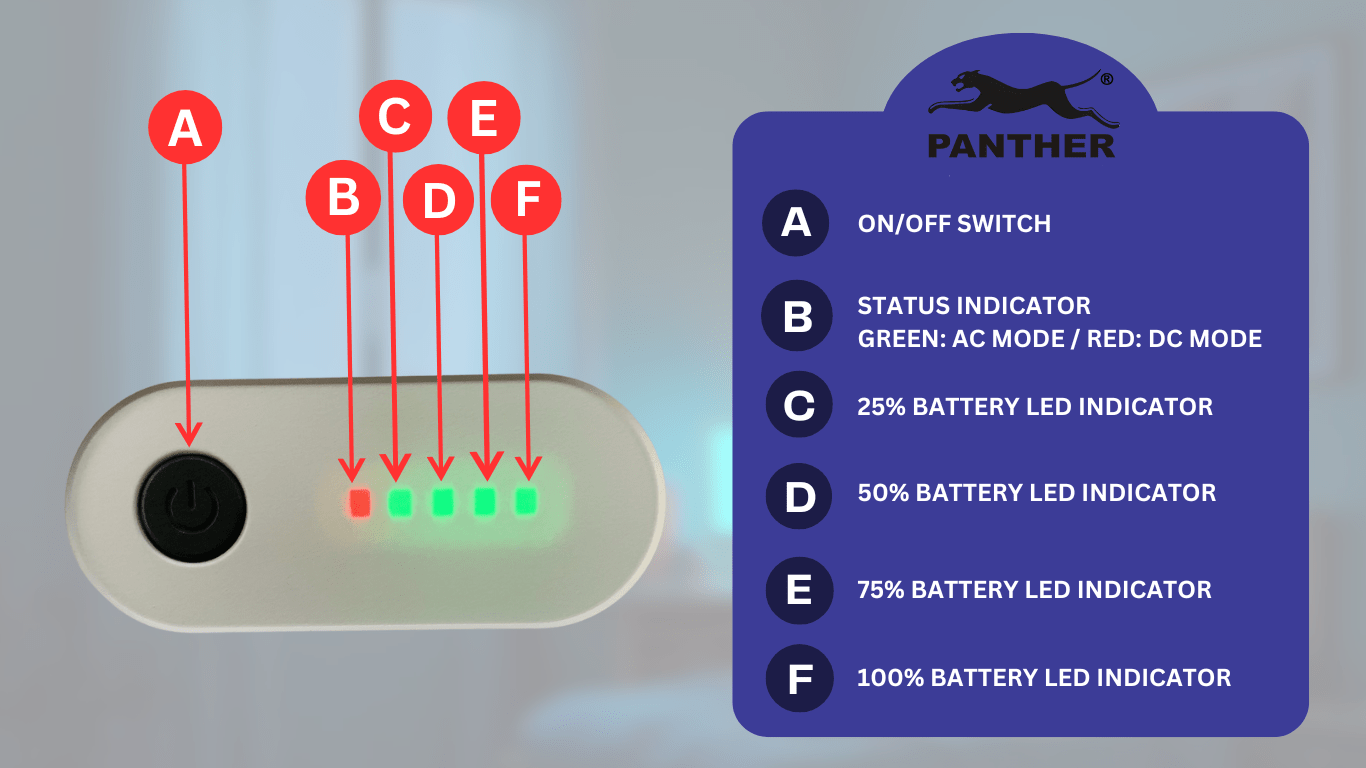
When you plug in the DC UPS, the DC UPS will automatically turn on. To know if the DC UPS has turned on, the LED indicator will light up (the number of LED indicator that lights up will be dependent on the amount of battery charge available at the moment)
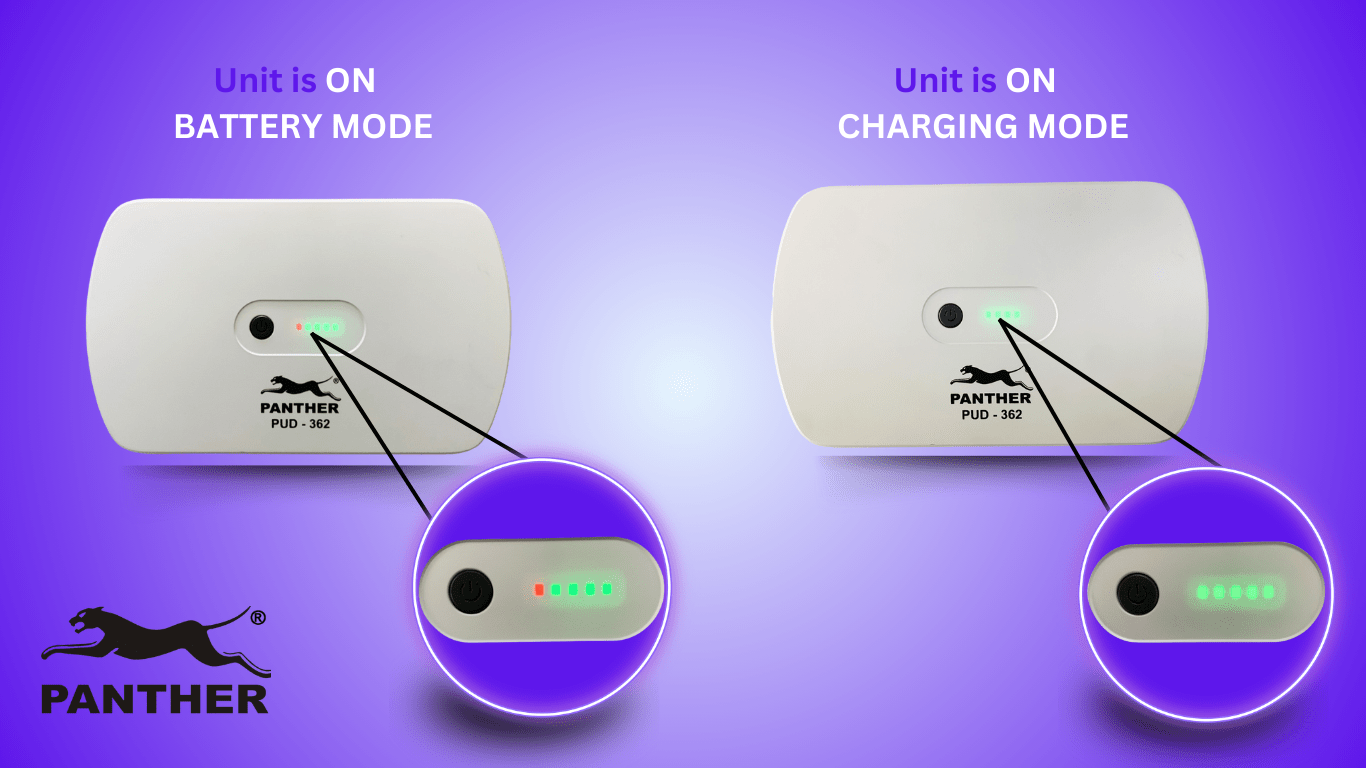
The leftmost LED status indicator will indicate if the UPS is being powered by AC (from the outlet) or DC (from the UPS battery). When connected to an active AC outlet, this status indicator should be green indicating it is powered by AC and is on charging mode. If the status indicator is red, that means it is on battery mode.
If however the DC UPS does not turn on automatically, you can also press and hold the power button for 2-3 seconds to turn on the DC UPS. Likewise, to turn off the DC UPS, simply press and hold the power button for 2-3 seconds as well.
Step 3: Fully charge the DC UPS for at least 2 hours
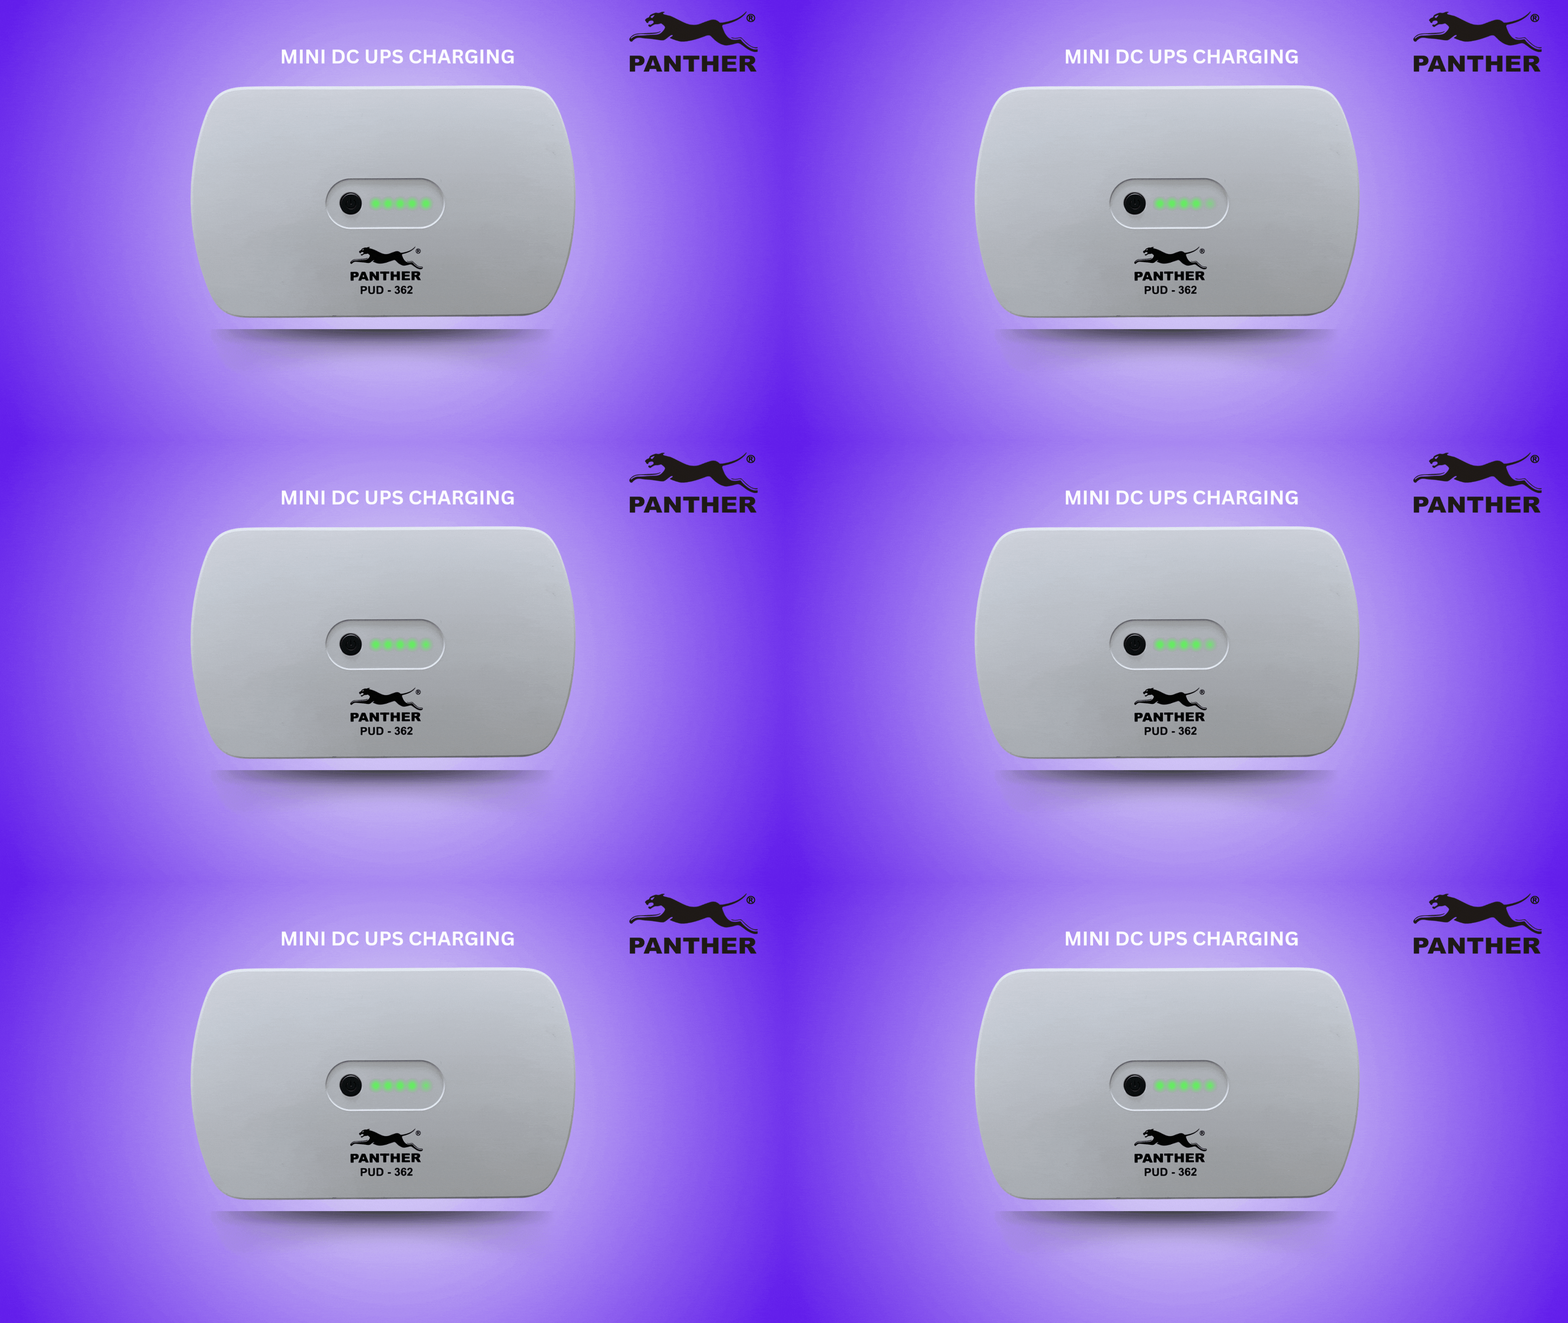
The DC UPS is shipped from the factory with its internal battery fully charged, however the battery power might be depleted during shipment. As such, make sure to charge the UPS battery fully for around 2 hours prior to initial use. For best results, we recommend using the original cable it came with when charging the DC UPS.
With the DC UPS plugged into a working AC outlet, check if the LED status indicator (which indicates available battery capacity) lights up, with more LED indicators lighting up as the DC UPS’ battery increases in charge. The DC UPS is fully charged when all 5 LED indicators are lit up.
Step 4: Plug in your device to the DC UPS
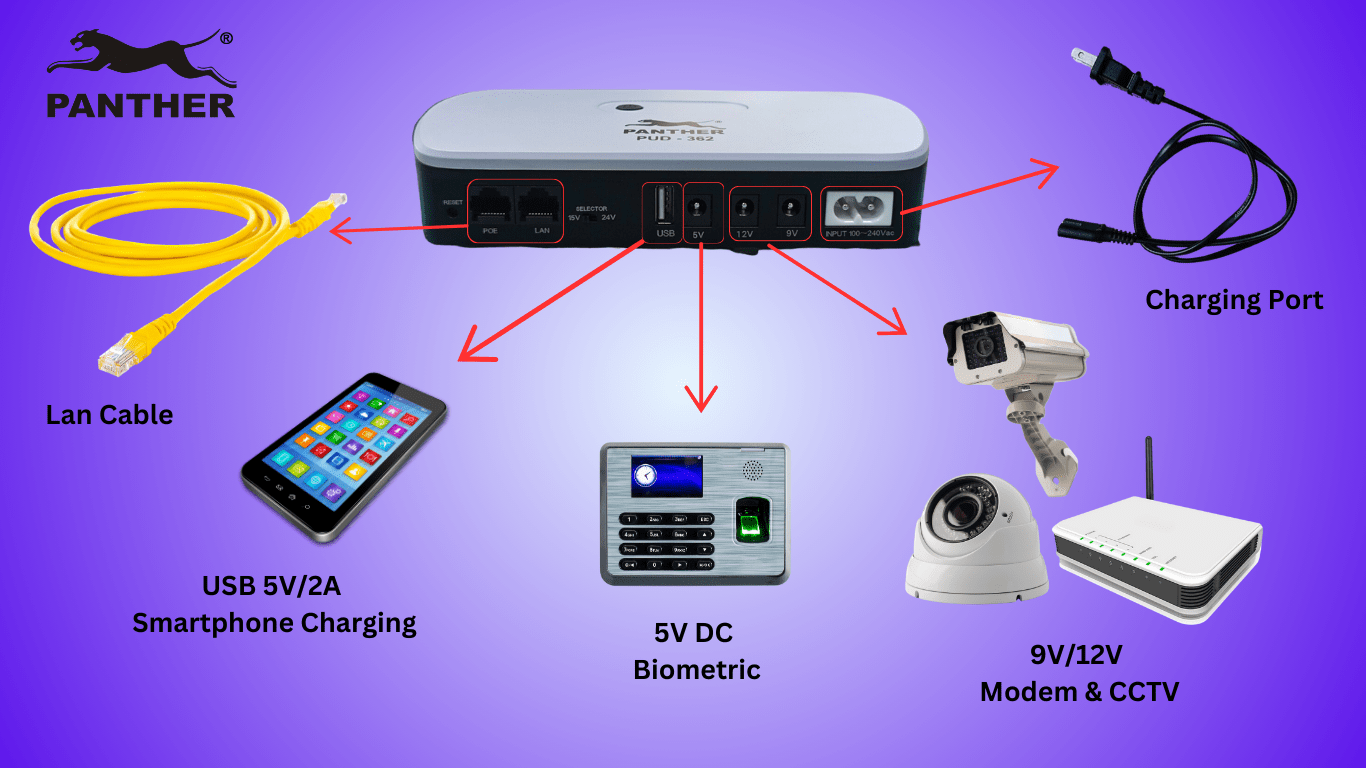
Check the working voltage, current and polarity of the loads before connecting your devices to the UPS. Make sure you plug your device into the correct corresponding voltage port. For example, if your WiFi router uses 12V DC, make sure to plug the router into the appropriate DC 12V output port. For POE, use the output voltage selector to adjust the output voltage of the POE port between 15V and 24V
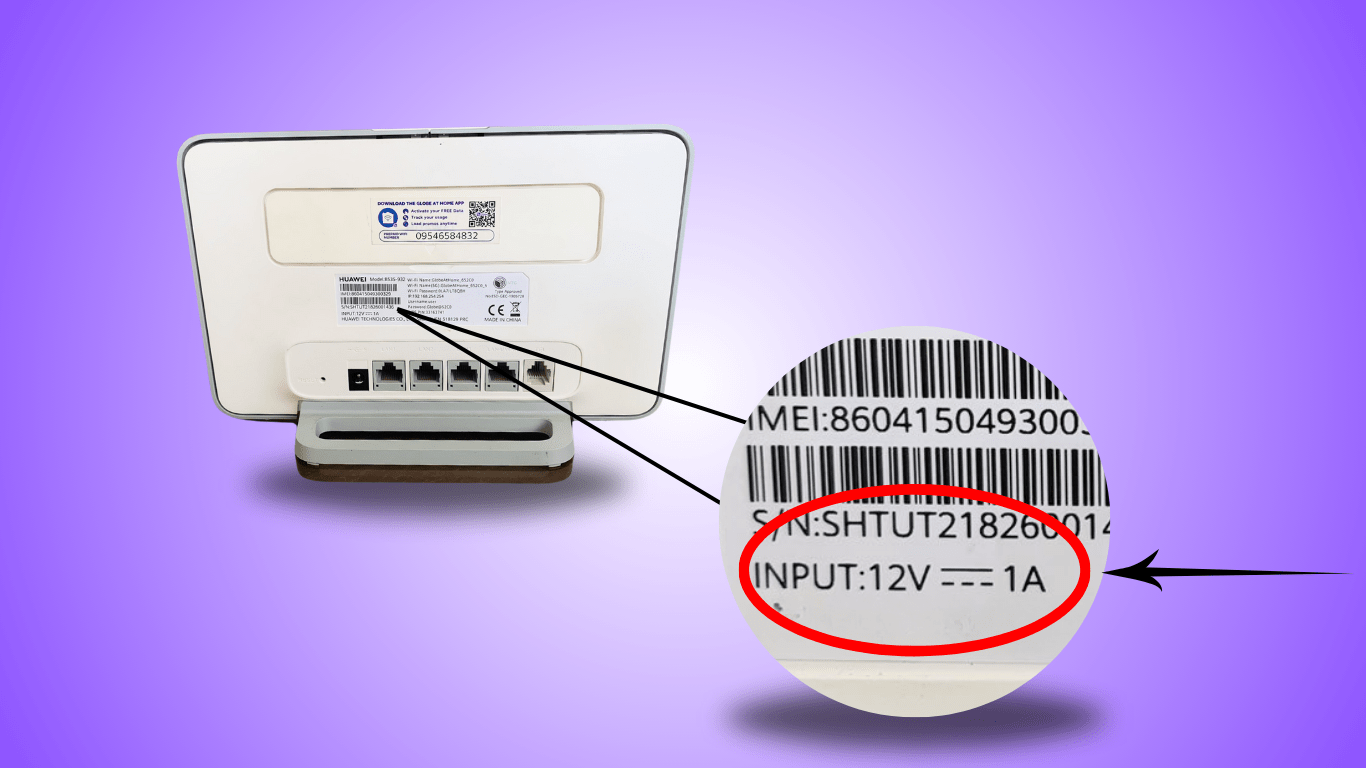
As a guide, this is typically the working voltage port to be used depending on the device. However, it is still best to check your device’s specifications itself as this could vary depending on the manufacturer.
| Voltage port | Device |
| USB 5V | Phone |
| DC 5V | Biometric, DC desk fans |
| DC 9V | CCTV camera |
| DC 12V | WiFi router or modem, CCTV camera |
| DC 15V/24V Power over Ethernet (POE) | Data and power transmission for communication device (e.g. CCTV) |
NOTE: The maximum output power of the Panther DC UPS is 36 Watts. When the total power draw of all devices connected exceeds the maximum output power, the UPS will shut down automatically as part of its over-load protection. When this happens, please remove excess loads and devices.
Step 5: Test if the DC UPS backup function is working
To test the backup function of the DC UPS on its own, unplug the DC UPS from the wall outlet. The leftmost LED indicator should turn red, indicating the DC UPS is now on battery mode. The connected device (e.g. WiFi router) should remain powered on.
Note: When the LED indicator reaches 25%, the battery power is considered low and the UPS will shut down automatically to prevent over-discharge. To avoid damage to the lithium batteries after a low battery shut down, please ensure the UPS is connected to an AC power supply before restarting the UPS.
Reminder: The average run-time (amount of time the UPS battery can power the plugged-in equipment) of the Panther DC UPS can range up to ~13 hours. However, the total run-time will depend on the DC UPS battery condition and the total power load of the equipment plugged into the UPS.
Additional reminders to help prolong the life of your DC UPS
- Do NOT overload the DC UPS. Make sure the equipment you plug in does not exceed the 36W capacity
- Do not place the UPS near any sources of liquid (e.g. water) or in an environment of excessive humidity
- Do not place the UPS under direct sunlight or close to any heat-emitting sources. Instead, store the DC UPS in a well-ventilated environment
- Do not use harsh chemicals or cleaning agents to clean the unit
- Do not disassemble the DC UPS on your own. If it is out of order, detach the power cord and consult the supplier. Only a Panther certified technician should conduct all repairs and maintenance
- Make sure to fully charge the DC UPS battery every month for battery maintenance, especially when the DC UPS is not in use.
A battery left unattended will drain on its own and will result in a shortened lifespan. We recommend you replace the battery once the DC UPS battery is no longer performing at its best (e.g. unable to hold full charge), to allow it to perform at its peak potential. In case you encounter problems as you set up your Panther DC UPS, please contact our Customer Service team so we can help.
As with all Panther products, the Panther DC UPS PUD-362 comes with Panther Lifetime Service Warranty so you can have your unit checked free of charge. Note: Replacement of consumables (e.g. battery) will be charged at cost.


0 Comments