
Table of Contents
- Step 1: Check your battery before charging.
- Step 2: Connect the battery charger to the battery.
- Step 3: Plug in your battery charger to your source power outlet.
- Step 4: Turn on the battery charger power switch.
- Step 5: Disconnect the battery charger.
- Step 6: Mount the Automatic Battery Charger (Optional).
- Interested in purchasing a Panther Automatic Battery Charger?
Batteries are one of the world’s main sources of power – powering anything from laptops, to motorbikes, to cars and even boats! However, for batteries to remain reliable, we must take good care of them and maintain its charge.
Thankfully, smart battery chargers are now available. With the help of smart chargers, you can leave the battery connected to the charger indefinitely, without fear of overcharging. Not just that, but some smart battery chargers are even able to condition your old battery, which results in an extended battery life and overall improved battery performance.
Unsure which smart battery charger can meet your needs? We’ve got you covered with the Panther Automatic Battery Charger. With its 7-stage automatic charging process, the Panther Automatic Battery Charger is able to charge, recondition and protect your batteries anytime anywhere.
Read on for instructions on how to setup and operate your Panther Automatic Battery Charger.
Step 1: Check your battery before charging.
Check the rated voltage of your battery.
Make sure the charger you have is appropriate for the type of battery you plan to charge. If you’re charging a 12V DC battery, use the Panther Automatic Battery Charger PBA 1012. If you need to charge a 24V DC battery, use the PBA 1024.
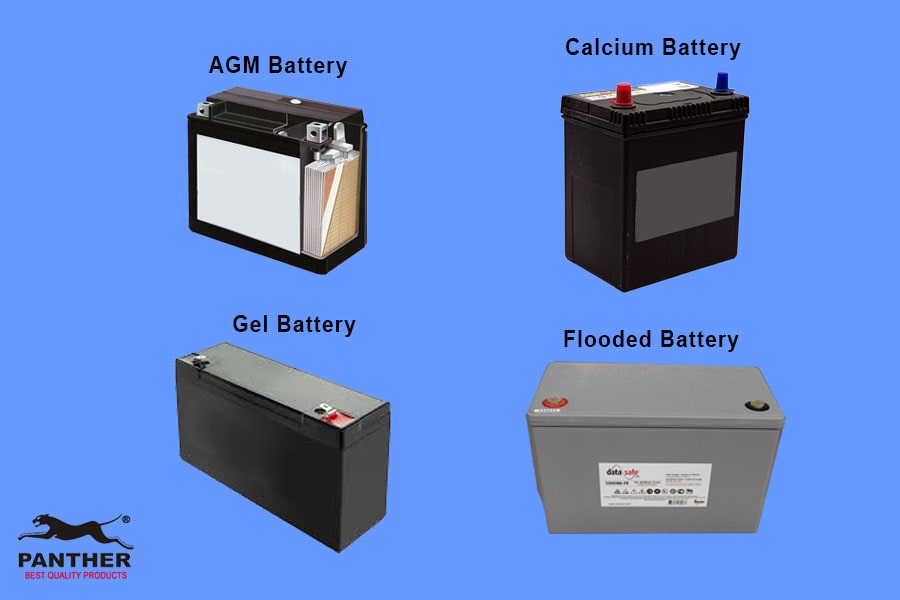
Never use the wrong type of battery charger as this will damage the charger itself. Keep in mind that the Panther Automatic Battery Charger is designed for charging most lead-acid batteries like AGM, calcium, gel and flooded batteries.
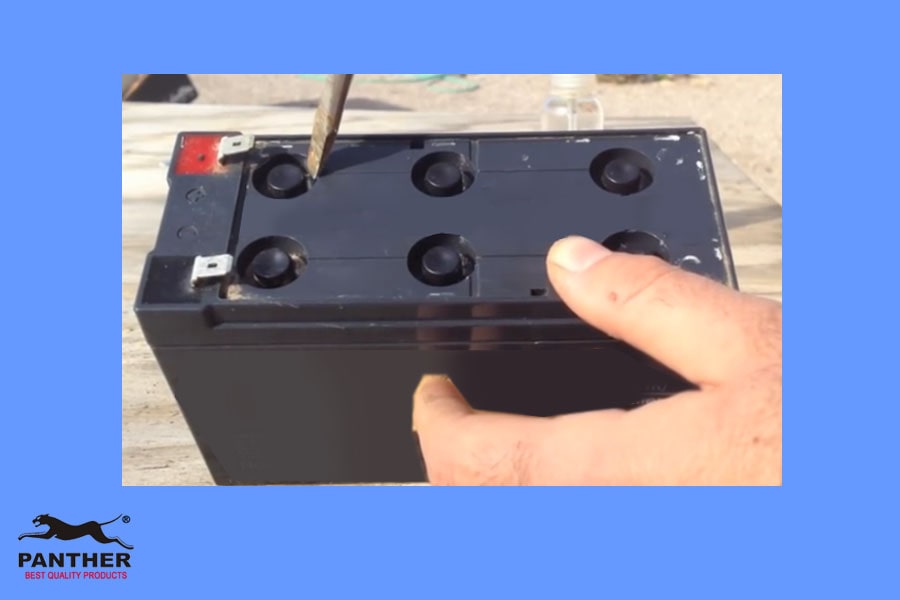
Check the electrolyte level (for non-sealed batteries)
Before charging the battery, check the battery’s electrolyte level. To check:
- Remove the vent caps (covers the battery cell ports). You may use a screwdriver to remove the cover.
- Make sure to remove the dust and dirt that may be present underneath.
- If the battery’s plates are visible enough then the battery needs more electrolytes. The electrolyte should be 6mm (1/4”) above the battery’s plate. You can top up your battery with distilled water to increase the electrolyte level, or until the battery’s plate can no longer be seen.
Step 2: Connect the battery charger to the battery.

- Connection of battery charger to an external battery. Connect the red clip of the battery charger to the positive terminal of the battery. Then connect the black clip of the battery charger to the negative terminal of the battery.
- Connection of battery charger to a vehicle battery. Turn off the car engine and ensure all vehicle accessories (such as lights) are also turned off before connecting the battery charger.
There are two types of vehicles: negatively earthed (commonly used) and positively earthed vehicle.
- For negatively earthed vehicle, connect the red battery clip to the positive battery terminal. Then, connect the black battery clip to the vehicle’s chassis away from the fuel line or moving parts.
- For positively earthed vehicle, connect the black battery clip to the negative battery terminal. Then, connect the red battery clip to the vehicle’s chassis away from the fuel line or moving parts.
Note: Most Philippine vehicles are negatively earthed. However, if you are not sure, kindly confirm with the car manufacturer first.
Step 3: Plug in your battery charger to your source power outlet.
Connect the battery charger to a 220-240V AC outlet. Make sure the battery charger is turned OFF before plugging into the power outlet.
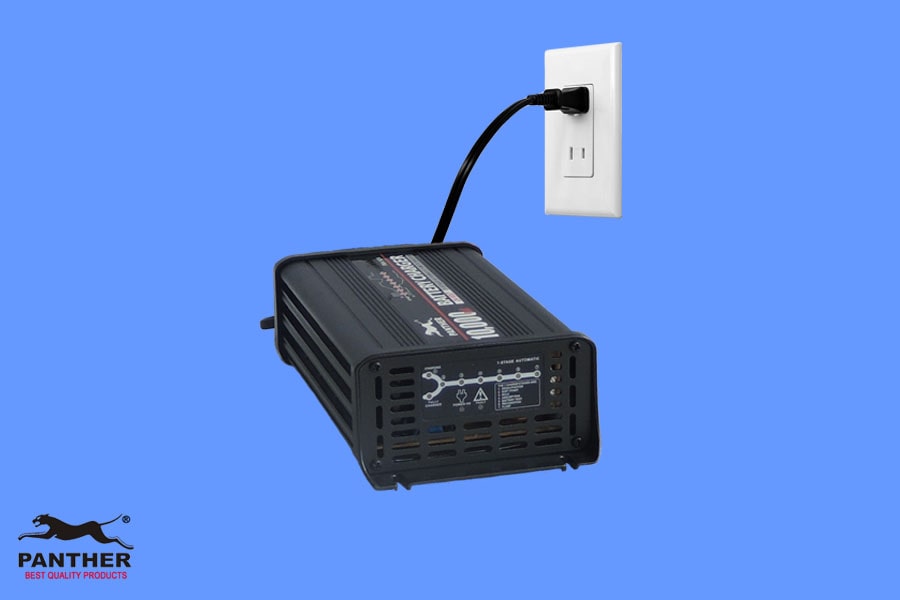
Do NOT plug in your battery charger while the switch is on as this may cause short circuit or damage to the battery charger.
Step 4: Turn on the battery charger power switch.
Once the battery charger switch is turned on, the battery will automatically start the charging process.
The red LED will illuminate indicating POWER ON. All Charging LEDs will flash shortly. Right after that, each LED stage will light up briefly and you will notice that the Charging LED will now flash according to which charging stage the battery is currently in.
For your reference, these are the 7 stages of automatic charging of the Panther Automatic Battery Charger.
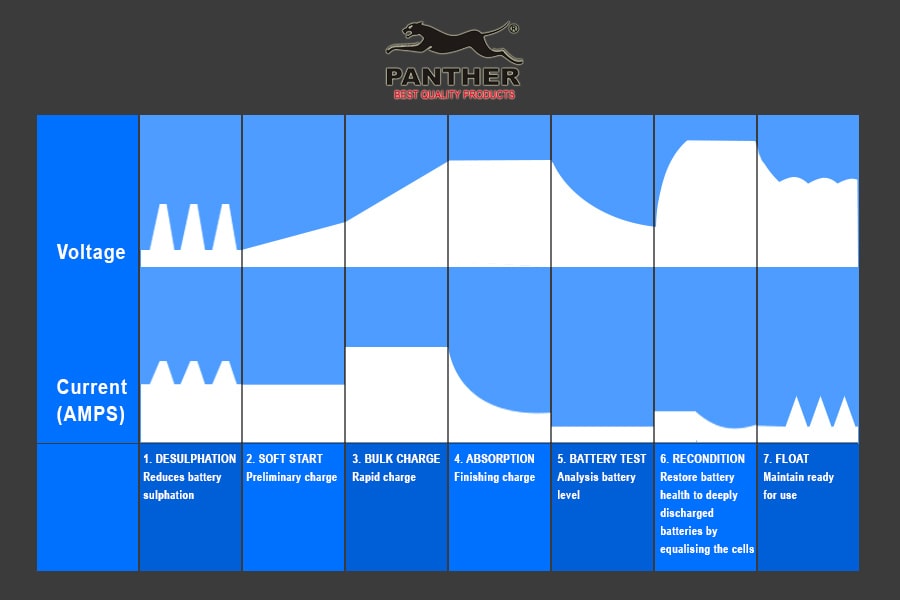
7 Charging Stages of the Panther Automatic Battery Charger
Stage 1: Desulphation: This stage is designed to remove any sulfate crystals that may have formed on the battery plates, which can reduce the battery’s ability to hold a charge.
Stage 2: Soft Start: This stage is designed to slowly introduce power in order to avoid any damage to the battery or the charger.
Stage 3: Bulk (Constant Current): This stage quickly charges the battery until it reaches a specific voltage level.
Stage 4: Absorption (Constant Voltage): During this stage, the charging current is gradually reduced so the battery can absorb more power, and to prevent the battery from overcharging.
Stage 5: Battery Test: The battery test stage is designed to check the health of the battery. If it passes the test, the charger will move to the Float stage. If it fails, the charger will proceed to the Recondition stage.
Stage 6: Recondition: This stage involves a deep discharge of the battery, followed by an introduction of a low constant current for a period of four hours, in order to remove any buildup on the battery plates and restore the battery’s performance.
Stage 7: Float: During this stage, the charger maintains the battery at a fully charged state by providing a low current charge ensuring that the battery is ready for use and is protected against overcharging.
For good and working batteries, the charging stage usually starts immediately at Stage ③ or Stage ④. If the battery charging stage doesn’t move at all from Stage ①, the battery might be defective. Remove the battery connection to the charger and please check the battery’s state of health first.

Take note that charging defective or dead batteries might cause damage to the battery charger.
Once fully charged, the FULLY CHARGED LED (green LED) will stay steadily lit. This means the battery charger is now in the Float stage and the charger can be left connected to the battery without overcharging. The Float stage will maintain the battery at 100% charge without damaging your battery. So in essence, you don’t need to check your battery periodically, and can instead concentrate on doing other tasks

Step 5: Disconnect the battery charger.
When the battery is fully charged, you may now disconnect the battery charger. Be cautious in disconnecting the battery charger from the battery in order to avoid any damage.
Disconnection of battery charger from an external battery.
First, turn OFF the automatic battery charger’s switch, and then unplug the battery charger from the source power outlet.
Always disconnect or remove the black battery clip first then disconnect the red clip. It is much safer to remove the black clip as this will prevent a short circuit between the positive terminal and ground.
Disconnection of battery charger from a vehicle battery.
First, turn OFF the switch of the automatic battery charger then unplug the battery charger from your source power outlet.
Next, remove the chassis connection then remove the battery terminal connection
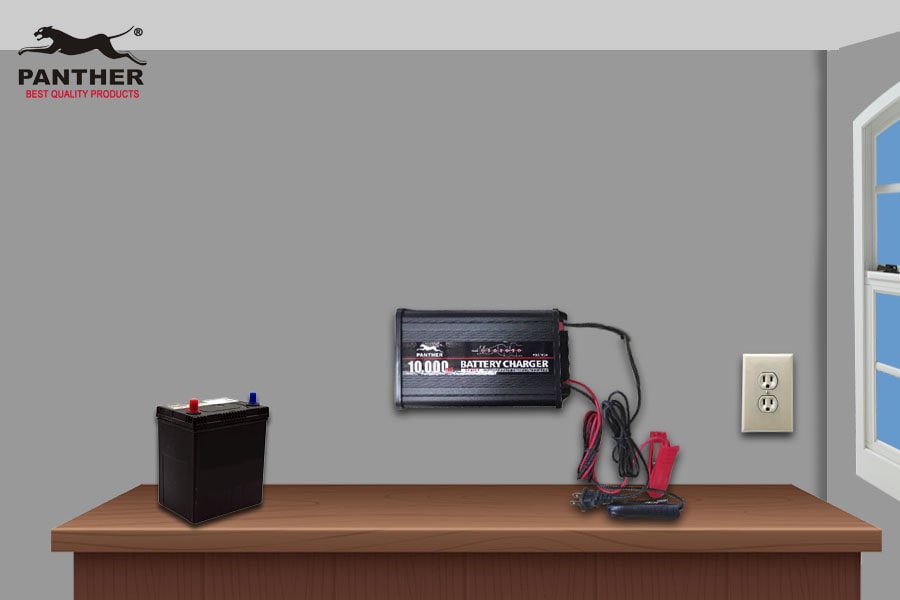
Step 6: Mount the Automatic Battery Charger (Optional).
If you often use the Panther Automatic Battery Charger, you may consider mounting the unit onto your workplace so the setup will be easier. There are four mounting holes (two on each side of the battery charger) measuring 3.5mm in diameter and located on both sides of the battery charger.
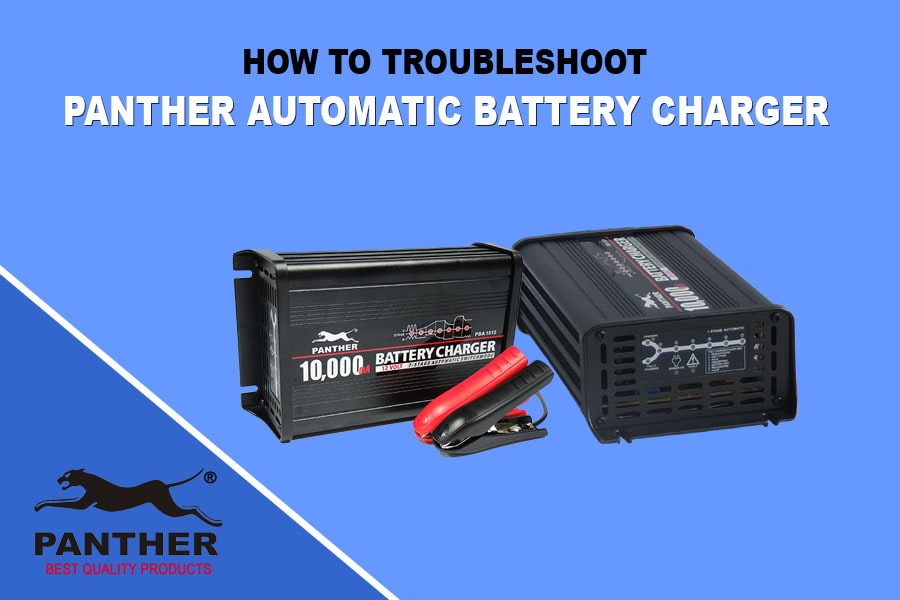
Interested in purchasing a Panther Automatic Battery Charger?
You can check out our available Panther Automatic Battery Chargers here:
- PBA 1012: Panther Automatic Battery Charger 10A Output Current, 12V DC Output Voltage
- PBA 1024: Panther Automatic Battery Charger 10A Output Current, 24V DC Output Voltage
If you have any questions/concerns, feel free to contact us via pantherproduct@gmail.com

Can a car battery 2sm lead acid which had been not used for 6 years and 3 years due to reach its discharged its power capacity? Can the automatic battery charger recharge or recondition these batteries?
Good day Jaime! May we know if it’s a dead battery already? Make sure that the battery you will be charging is not defective, damaged, leaked or dead. Note that charging these types of damaged batteries could permanently damage your battery charger. Kindly consult your battery supplier to be sure. Hope it helps.
abutler@cmsolutions3.com
The battery charger plug is bad how can I replace it – 83154
Machine PANTHER 26/T
Hi Good day,
To get this resolved as quickly as possible, please reach out to our Technical Team who can provide further assistance.
You can contact them via Viber at +639989543316. They’ll be happy to help!
Let us know if there’s anything else we can assist you with.